Monday, September 29, 2014

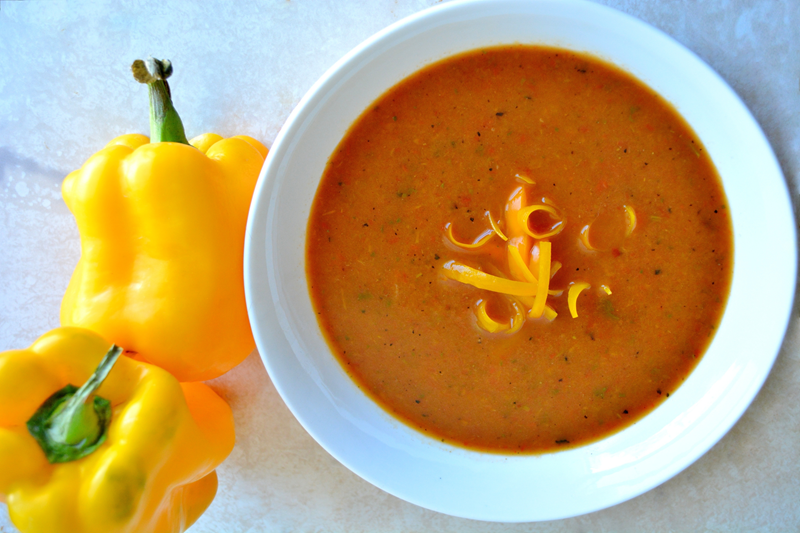
Roasted Pepper Soup

It’s no secret that I love soup and that I like to make hot bowl whenever the weather or my body feels a bit gloomy.  In this recipe, we are making the roasted peppers into a silky yet spicy soup seasoned with cumin, crushed red pepper flakes and cilantro, and finished with fresh orange juice.

RoastedPepperSoup

Soup

4 large colorful Bell Peppers

1 Tbsp. Cooking Oil

1 tsp. Ground Cumin

1/4 tsp. crushed Red Pepper Flakes

4 cups homemade Vegetable Stock

1/2 cup fresh Orange Juice

2 Tbsp. Cilantro;  chopped

1 fresh Lemon;  juiced

1 tsp. Red Wine Vinegar

Salt;  to taste


P R E P A R A T I O N S

Wash and clean the peppers.  We used a variety of yellow, orange and red peppers.


Roast the peppers until the skins are black.  You could roast them on a grill or by baking them in the oven at 425°.

When they're cool enough to handle, remove and discard the skins, cores and seeds.  Then rough chop the peppers.

In a medium size pot, heat 1 tablespoon of cooking oil.  Add the cumin and roasted peppers and cook over moderately low heat, stirring occasionally, for about 5 minutes.  Add the vegetable broth and bring to a boil over high heat.  Reduce the heat to low and simmer for 20 minutes.  Finally, add the Orange Juice and Cilantro.

In a blender, puree the soup in batches until it is smooth.  After that return the soup to the saucepan and season with red wine vinegar, lemon juice and salt.

Ladle the soup into bowls and serve. The garnish is optional, but if you like you could add sliced peppers, chopped cilantro or a dollop of vegan sour cream into the soup.
SignatureEnd
       Nina

Monday, September 22, 2014

Cucumber-Radish Rolls

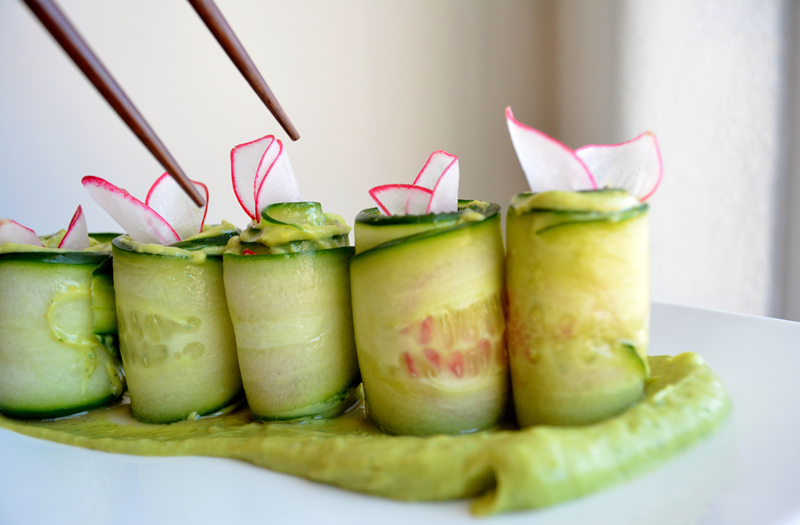
These Cucumber-Radish Rolls are a lovely, simple celebration of freshness.  I don’t often find healthy and yummy appetizers and hors d’oeuvres at parties – and wish I did!  The crunchy cucumber slices are perfectly paired with a creamy avocado mousse and quick pickled radish slivers.  Rolled up, the fresh little rolls make a bite size warm weather snack.  I love these and if I get an invite to a party or potluck I might just bring them along.  This appetizer is quick and simple to make, but it will also disappear quickly.

CucumberRolls

Avocado Mousse

1 large Avocado;  remove the pit

1 large Green Heirloom Tomato

1 Jalapeño;  de-seeded

1 Lime;  juiced

Salt and freshly cracked Pepper;  to taste

CucumberRoll

1 large English Cucumber;  thinly sliced with a mandolin 

3 large Radishes;  thinly sliced

1 Tbsp. Vinegar


P R E P A R A T I O N S

Wash and clean all fresh produce.
Prepare the avocado mousse:  Combine the avocado, heirloom tomato, jalapeño pepper, and Lime Juice into a food processor or blender. 

Blend until smooth and then season with Salt and Lime Juice to taste.
Use a mandolin to cut the cucumber into long thin slices and to slice the radishes into even thinner, almost see through slivers.
Quick pickle the radish slivers in white balsamic vinegar by placing them together into a small dish.  Do not let them sit longer than 5 minutes.
Lay out each cucumber slice and layer a coat of the avocado mousse all the way across.  For each roll, place 3-4 radish slices on top of the mousse.  Start to roll on one side until you reach the end.  

Be sure to have some avocado mousse at the end (without any radishes) to act like glue to seal them up.
Dress up the cucumber rolls with some extra radish slivers, plate the rolls in a splatter of extra avocado mousse and serve immediately (or refrigerate until it’s time to eat the appetizers)!

SignatureEnd
       Nina

Monday, September 15, 2014

Stuffed Peppers with Avocado Mousse

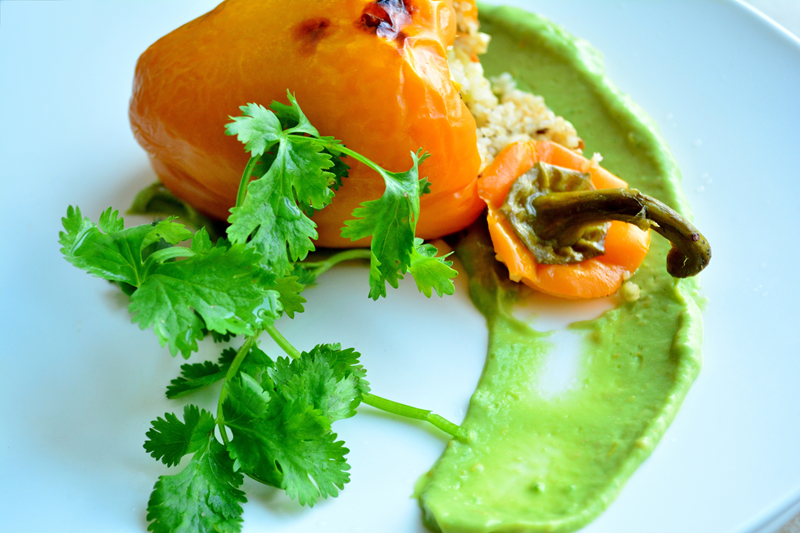
I suppose, veggie stuffed peppers do require the right kind of stuffing to outshine traditionally stuffed peppers.  But, I think our bulgur wheat stuffing hits just the right balance of bright vegetable flavor and firmness.  The creamy avocado mousse with sun-ripened green heirloom tomatoes and lime takes this dish over the top, smothering the stuffed pepper in a decadent, but healthy cream topping.  Seriously, no cheese required!  Darn, that avocado mousse is dangerous... I could top that on just about anything that could do with a little cream.  Like I've said, it would go well with anything.

StuffedPepper

Avocado Mousse

1 large Avocado

1 green Heirloom Tomato

1 Jalapeño Pepper;  de-seeded

1 Lime, juiced

Salt + Pepper to taste


StuffedPeppers

2 large Bell Pepper;  capped and de-seeded

1 ear of Corn;  de-seeded

1 stalk Celery;  minced

1/2 cup homemade Vegetable Stock

1/2 cup Bulgur Wheat

1/2 cup Water

1 Tbsp. fresh Parsley;  chopped
     
P R E P A R A T I O N S

Prepare the Bulgur Wheat:  Warm 1/2 cup of water and 1/2 cup of vegetable stock in a small pot. Add 1/2 cup of Bulgur Wheat and bring the everything to a boil.  At this point, lower the temperature to a simmer and cook until the Bulgur absorbed all the liquid.  Test for doneness.  It is done when the grain is soft but has a tender texture.
Set the oven to 350 ° F and roast the corn on a greased baking sheet.
In a medium size bowl, mix the parsley, celery and corn to the bulgur wheat.
Clean the peppers and carefully take their caps off by slicing with a pairing knife just around the stem.  Trim the seeds off the cap and then remove the rest of the seeds from the inside of the peppers.  I like to give the peppers a final rinse at this point in order to flush out every last seed.
Rub the inside of each pepper with olive oil and then sprinkle your favorite spice mix on the inside walls.
Carefully stuff the filling into each pepper and place them onto a baking or casserole dish.
Fill the baking dish about one finger high with water, cover the dish with aluminum foil and cook in the oven for 45 minutes to 1 hour at 350 ° F.  I recommend removing the foil of the dish for the final five minutes of cook time to encourage browning of the peppers.
While the peppers bake, prepare the avocado mousse: wash and clean all produce before combining the avocado, heirloom tomato, jalapeño pepper, and lime juice into a food processor or blender. 

Blend until smooth and then season with salt, pepper and lime juice to taste.
To plate the pepper, spread one heaping spoon full of avocado mousse onto the plate and place the pepper on its side in the pool of mousse.

SignatureEnd
       Nina

Sunday, September 14, 2014

Let's Explore: Vegan Hike to Sunset Peak

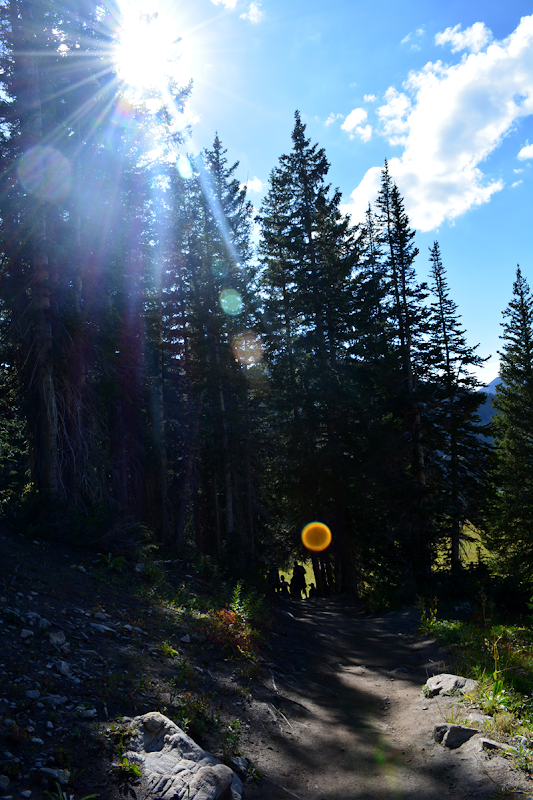
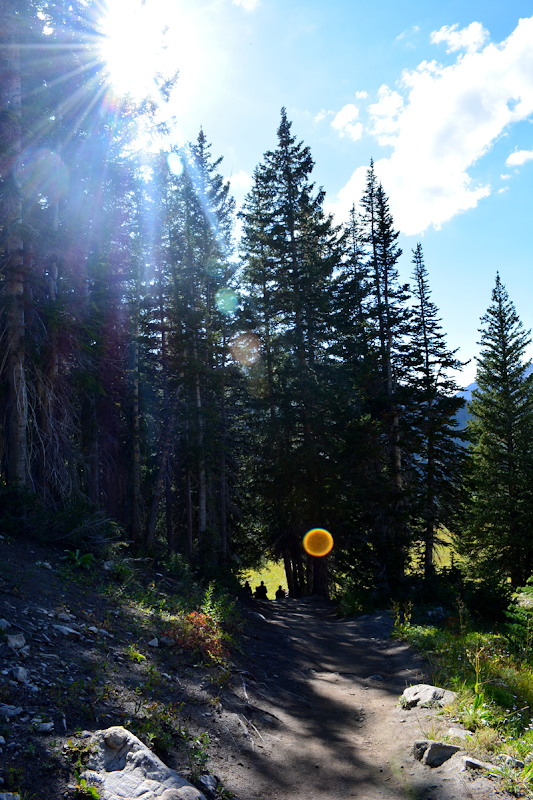
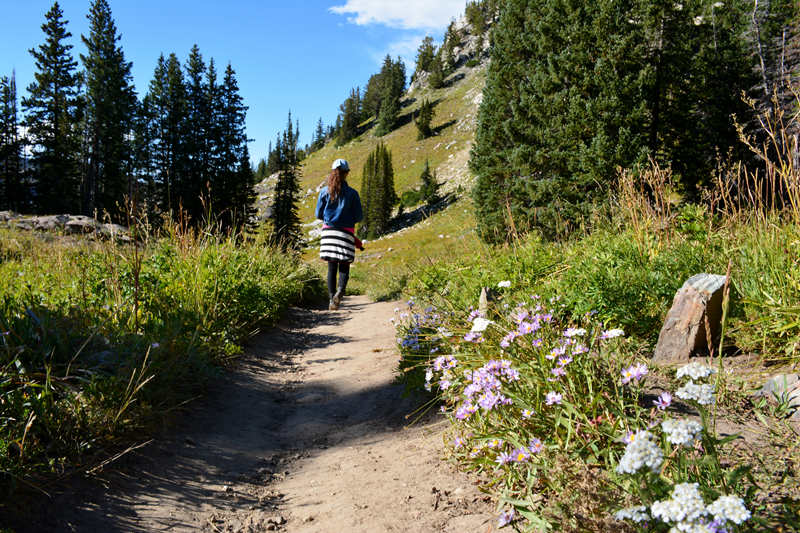
Last Saturday, I joined another Vegan group hike and I’m excited to share my favorite pictures from the day.  We started our hike at the Catherine pass trail head at the end of Little Cottonwood Canyon.

CatherinesPass1

↑ There we are picnicking at 10420 ft.; L A K E   C A T H E R I N E to our left and the tippy top of S U N S E T   P E A K (10648 ft.) to our right.

CatherinesPass2

↑ It’s a beautiful and not at all difficult hike.  That being said, I was going very, very slowly because I had several asthma attacks during the night (our neighbor snuck a dog into our pet-free apartment building) und so especially when we were hiking up my post-asthma lungs felt full of water and feverish.  It is not a pleasant feeling to exercise when I’m unable to breathe out.  All I want to do is inhale a big gulp of fresh air, but my lungs feel so heavy and full, I only have space for a tiny sip.  So if I want to breathe properly, I have to force myself to keep going and to breathe out as much as I can so that I can empty my lungs.  Emptying my lungs a is really painful process, but it is the quickest way to feel better.  Exercise just forces me to do it faster despite the pain.

I don’t normally get the wet feeling in my throat and lungs unless I had several asthma attacks.  But when I do, I know that exercise first makes the wet inside me sulfurous before it lifts it out of me.  So, it’s a good thing… like a forceful little detox.

CatherinesPass3


CatherinesPass4


CatherinesPass5

↑ S U N S E T   P E A K

CatherinesPass4.5

↑ The destination of our hike, Sunset Peak, wasn’t looking to sunny that day.  In fact, this big gloomy cloud kept hovering over the mountain and I decided I could skip walking the very last bit to the summit.  Look how tiny the person in the distance seems—that little black speck at the summit.  I bet he felt like he could touch the sky.

CatherinesPass7


CatherinesPass8

↑ Looking down at L A K E   C A T H E R I N E.  These pictures don’t quite show how high the peaks are and how steep and far down I could fall of the rock. What a lovely view.

CatherinesPass6


CatherinesPass9

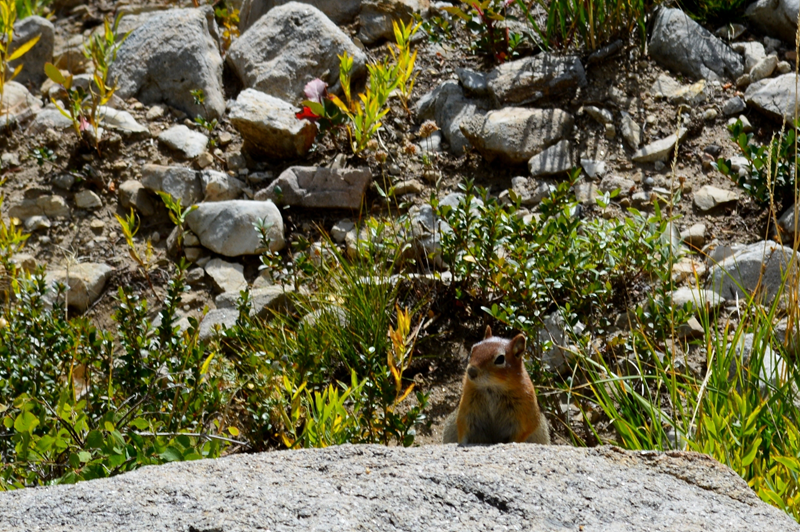
↑ Cute, cute, cute.  I’m not sure what this little guy is, but with his tummy almost touching the ground he sure looked well nourished and ready for a long winter’s snooze.

CatherinesPass10


CatherinesPass11

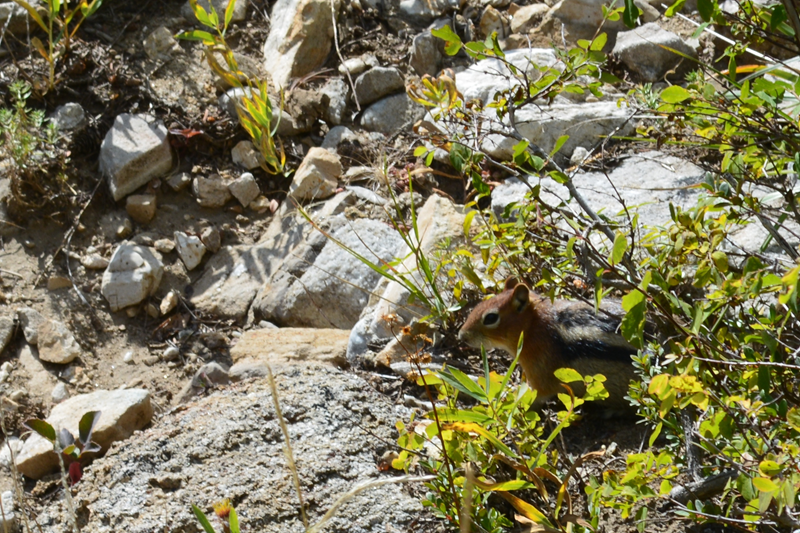
↑ I suppose I got too busy looking at chipmunks and admiring wildflowers.

CatherinesPass12

↑… and taking photographs…

CatherinesPass13

↑ I’m falling behind as my group walks on!

CatherinesPass14

↑ I’m clearly loosing my group.

CatherinesPass15


CatherinesPass16


CatherinesPass17


CatherinesPass18


CatherinesPass18.2


CatherinesPass19

↑ Beautiful! But now that I was all alone, just the loud sound of crickets coming from the meadows next to the narrow path, I definitely wasn’t hoping to spot more animals.  Right around this point, I was actually pretty worried I’d cross path with a rattle snake and I don’t know how I would have handled that.

CatherinesPass20

↑ Luckily, no unfortunate events occurred and the rest of the hikers kindly waited for me at the end of the trail.

CatherinesPass22

I hope everyone had a nice weekend.
HappySunday♡ Nina

Monday, September 8, 2014

Peach Tart

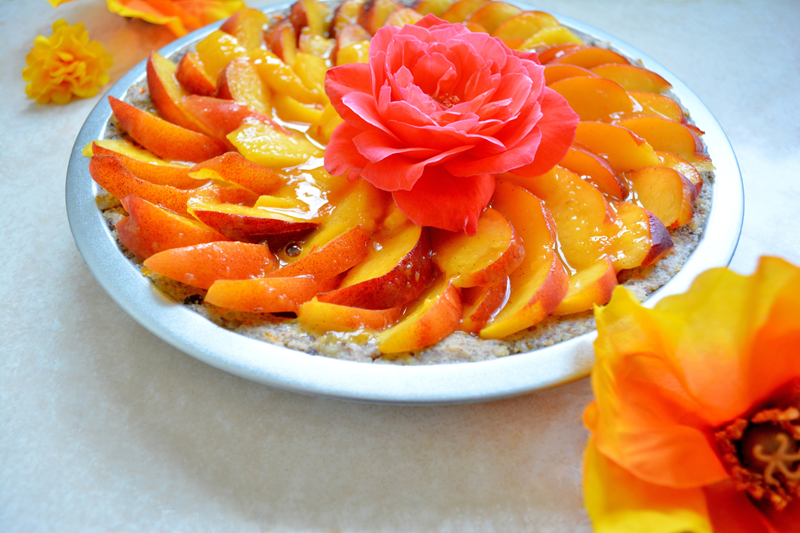
Oh, this peach tart is like concentrated sunshine in a pie dish: delicious, beautiful and aromatic.  Peaches are in season right now and Utah peaches are absolutely gorgeous.  Of course, they are wonderful on their own, but they make for a heavenly dessert when spiced with vanilla bean and layered on a zesty orange nut crust.

PeachTart

Pie

1 cup Walnuts, soaked

1 cup Pecan nuts, soaked

1/2 cup Dates

1-2 Tbsps. Orange Zest; peeled and rough chopped

1 Tbsp. Honey (or alternative sweetener)

dash of Salt

8- 10 Peaches

1 Orange (the one without the peel); juiced

2 Tbsps. Vegan butter

2 Tbsps. Sugar

1/2 stick Vanilla Bean


P R E P A R A T I O N S

Soak the nuts in water for a couple of hours; ideally over night.
Drain the nuts after soaking.
In a food processor, combine the nuts, dates and honey with the cinnamon and salt. Run the machine until the mixture resembles a fine moist crumb but still retains some texture. The dough should stick together slightly when you press it together with your fingers, however it shouldn’t be super sticky either.
Evenly crumble the dough over the base of your pie dish. Starting from the middle, press the mixture evenly but firmly into the pie form, moving outward and upward along the side of the pie dish. Due to the oils in the nuts, it’s not necessary to grease the baking pan.
Bake the crust, uncovered for 10 minutes at 350° F or until lightly golden brown at the edges. After baking set the pie crust into the freezer to cool for 15 minutes.
Meanwhile, prepare the tart topping.
Wash and clean the peaches before slicing them into thin half-moons. Reserve one peach to make the syrup.
For the syrup, place a small sauce pot on low heat and slowly add the Butter, the reserved Peach, Sugar, Orange juice and the Vanilla Bean.  Cook until the peach breaks down and until the mixture starts to form a thin syrup.

Strain and press the syrup through a fine sieve or food mill in order to remove the peach skin and the vanilla bean.
Carefully arrange the peach slices in the pie crust and then ladle the syrup over top.
Done and ready to eat!
(However, if you prefer a warm dessert, you can bake the tart once more for about 15-20 minutes at 350° F.  Let cool for as long as you can stand to wait and then dig in…)
SignatureEnd
       Nina

Monday, September 1, 2014

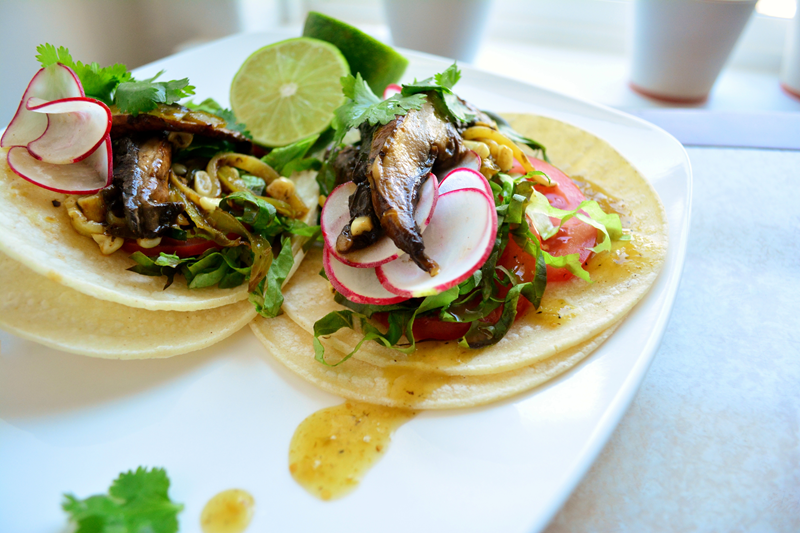
Summer Vegetable Fajitas

If you like the taste of juicy portobello mushroom caps, you are going to love this simple, but scrumptious mushroom fajita recipe.  This is a so-called Nina friendly recipe.  So yep, that means it’s Mexican food without meat, dairy, onions or garlic.  Try it, it’s tasty and much kinder to your tummy then traditional fajitas.

Fajitas

Please feel free to riff on this recipe by adding whatever you have on hand, including, different types of lettuce greens, halved cherry tomatoes, or chopped cucumber.

Fajita

1 large Zucchini;  matchstick sliced
2 Portobello Mushrooms;  sliced into thick strips
1 large Green Bell Pepper;  matchstick sliced
1 ear of fresh Corn;  remove cornels from the cob
lettuce;  cut into ribbons
1 large Tomato;  diced
1 fresh Lime;  juiced
Salsa Verde
fresh Cilantro;  pull leaves from the stem
Cooking Oil;  to marinate and for sautéing
Salt, Pepper and Taco Seasoning to taste


P R E P A R A T I O N S

Wash and clean all fresh produce.
Make Salsa Verde from scratch (optional), or use your favorite store bought brand (we have a recipe for this coming up soon).
In a small bowl, prepare the marinade from the portobello mushrooms.  Whisk together 2Tbsps of oil and 3 Tbsp. Salsa Verde.  Add the sliced mushrooms into the marinade and gently coat them.  

Marinate the mushrooms for 10 to 30 minutes, or longer if you like.
Meanwhile, prepare and cut the rest of the ingredients according to the instructions above.
In a frying pan, warm oil over medium heat.  Add the vegetables to the pan in the following order: green bell peppers, zucchini, mushrooms, and then the corn.  Cook and stir occasionally until the vegetables are softened and lightly browned, about 8 to 10 minutes.
Once the vegetables are cooked, season with salt, pepper and taco seasoning spice (or make your own).
To assemble the fajitas, top each taco with a thin spread of salsa verde, followed by salad Greens, stir-fried vegetables, tomato slices and a few radish shavings.  Garnish with a heaping amount of freshly chopped cilantro and a generous spritz of fresh lime juice.
SignatureEnd
       Nina